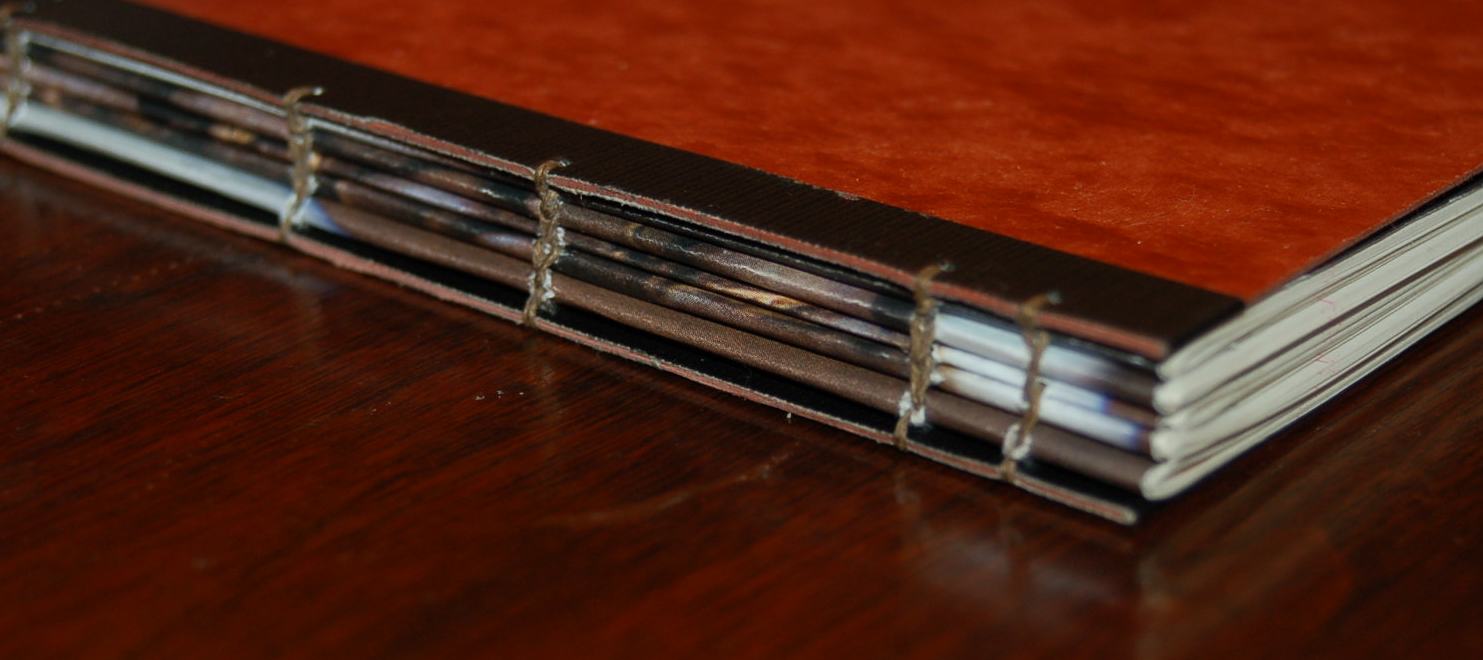
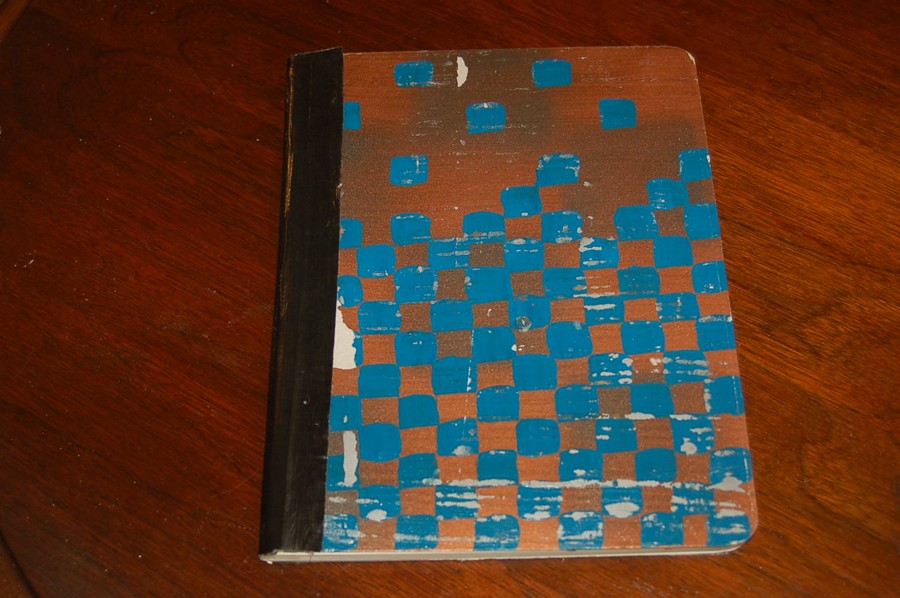
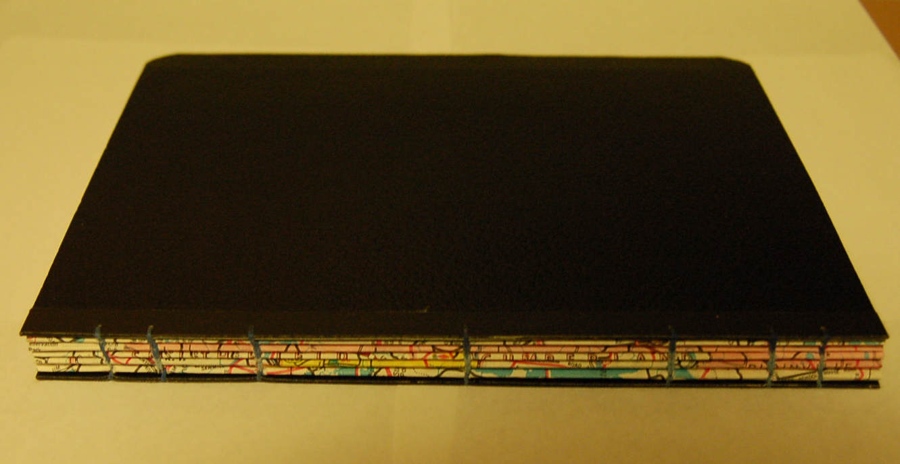
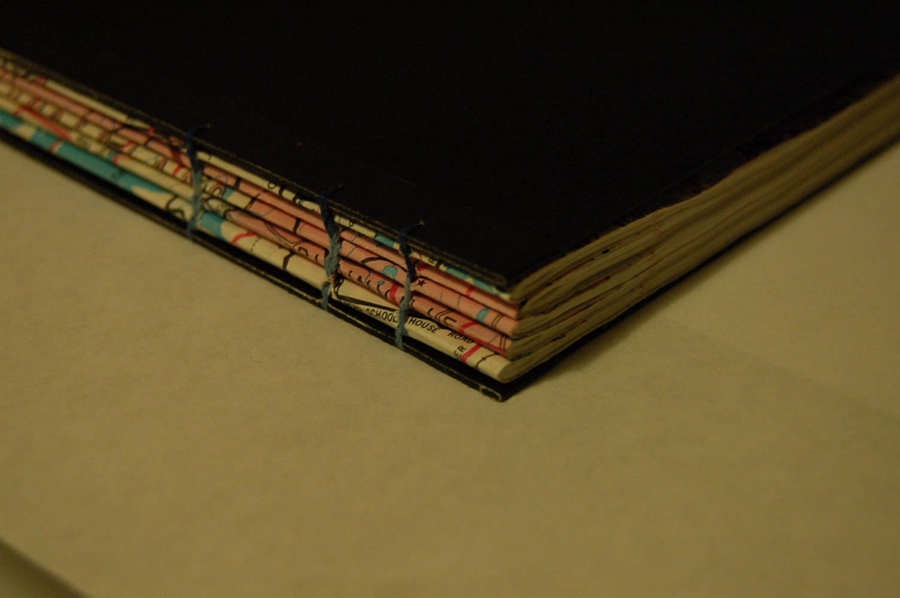
I have had this beat up old composition notebook collecting dust for years. The cover design was meh. I didn’t want to waste the book though so I decided to try something new and rebind it with a Coptic stitch. The benefit of the Coptic stitch is that the book will lay completely flat when opened. I also love the look of the open spine.
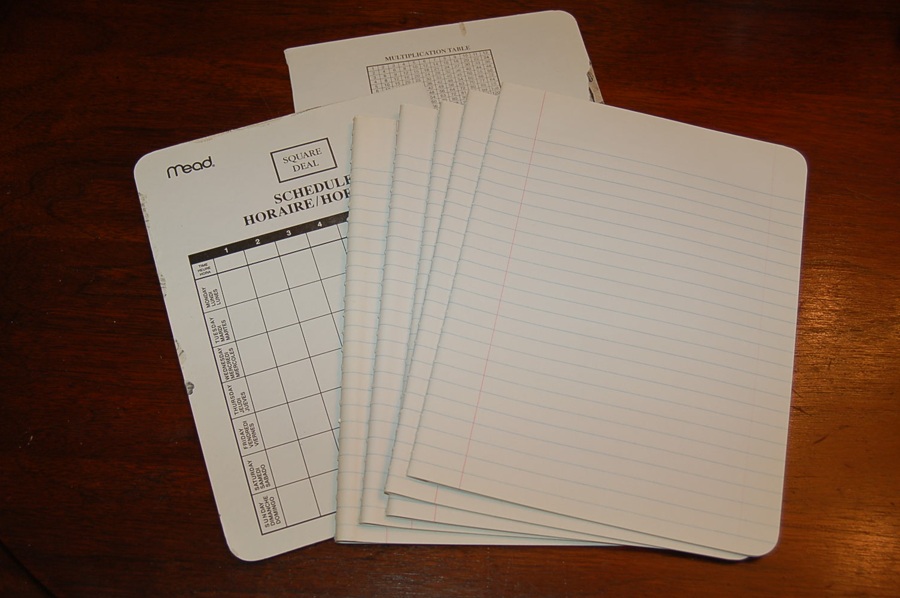
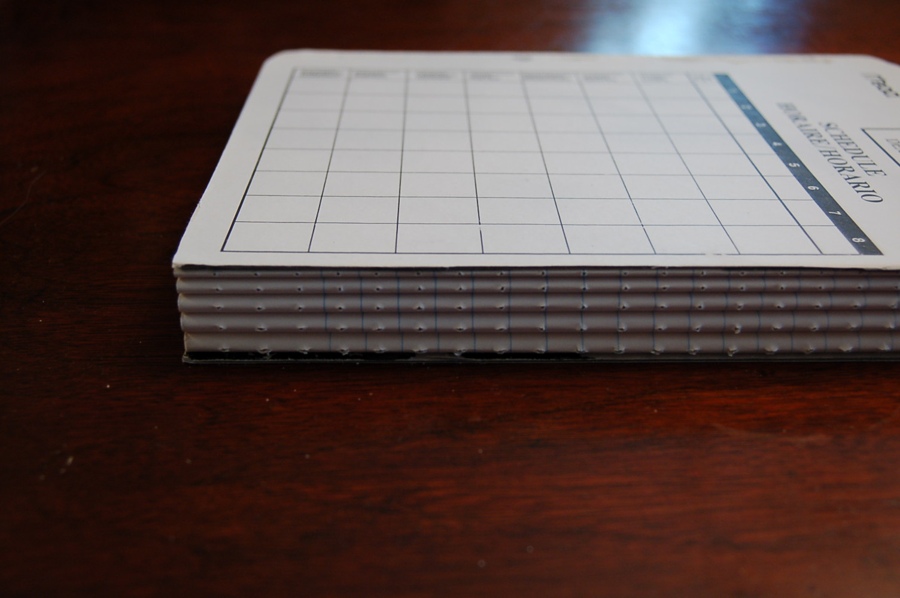
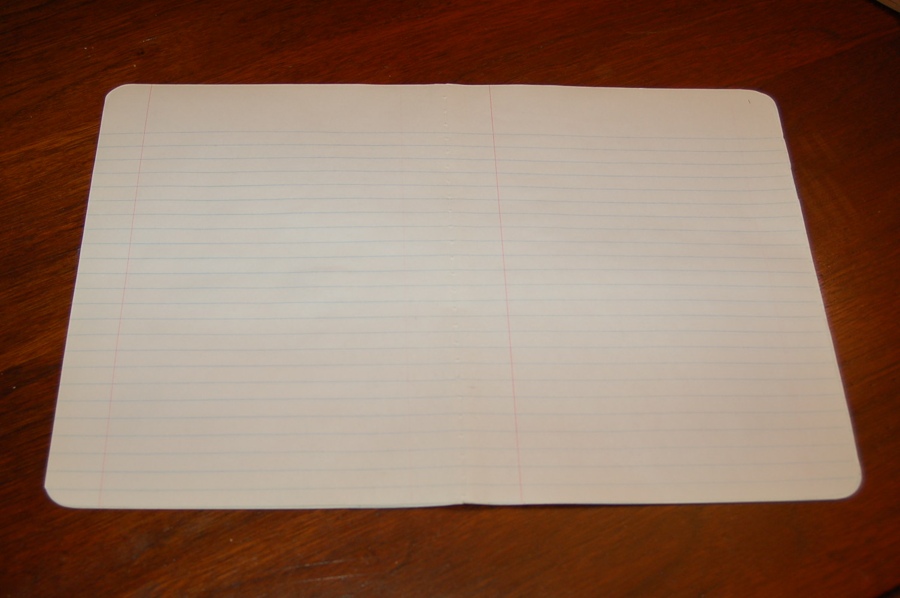
The first step is to deconstruct the notebook. I did this by removing the existing stitching and separating the pages into 5 signatures of 10 pages each. Be careful when removing the stitching so you don’t tear the paper.
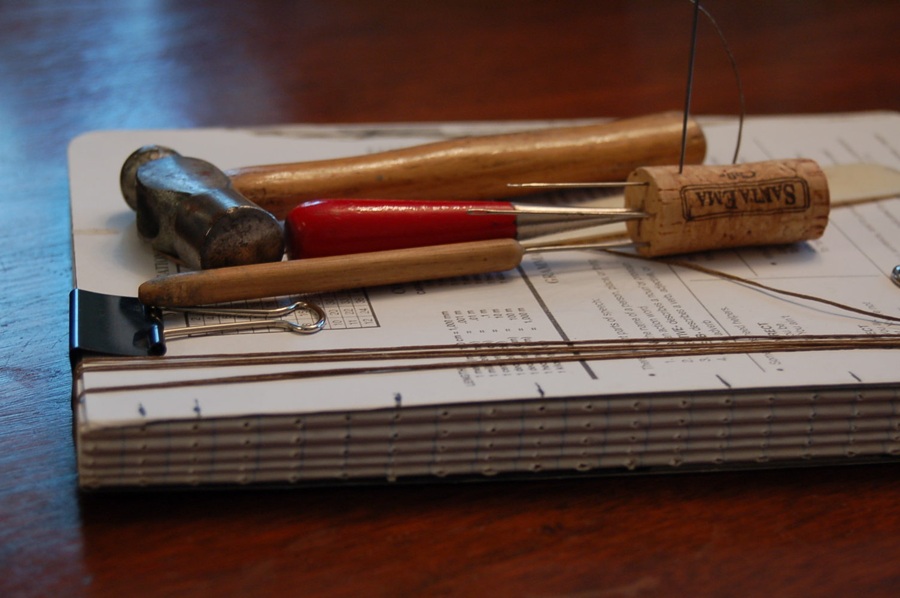
You will need a few tools to rebind the notebook. My tools: Small ballpeen hammer, two awls, bone folder, needle and waxed thread. Embroidery thread waxed with a bit of beeswax works great for this.
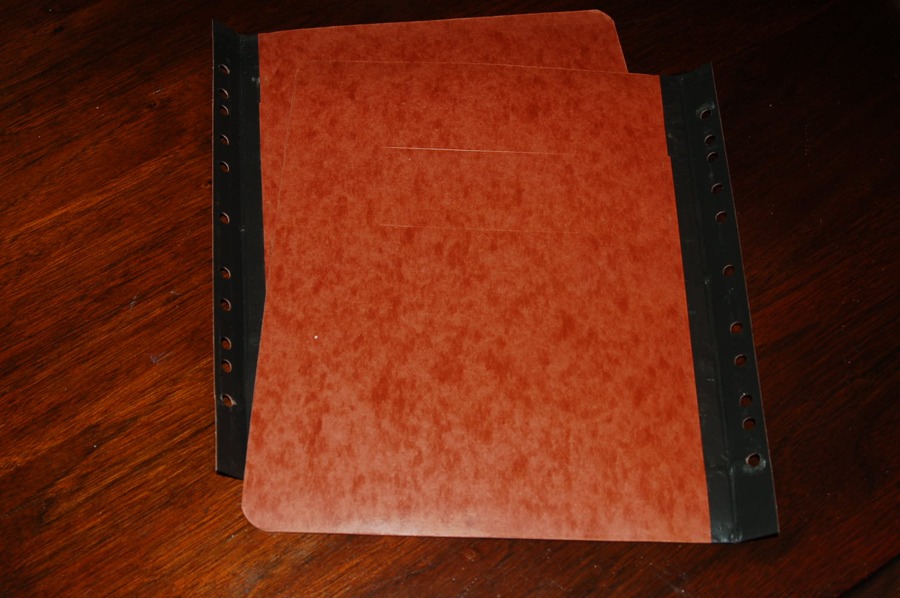
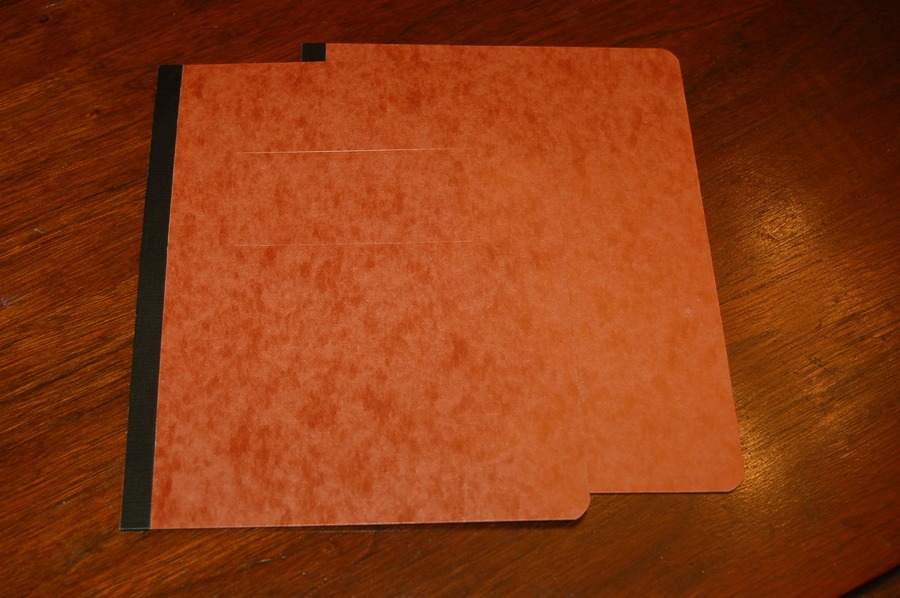
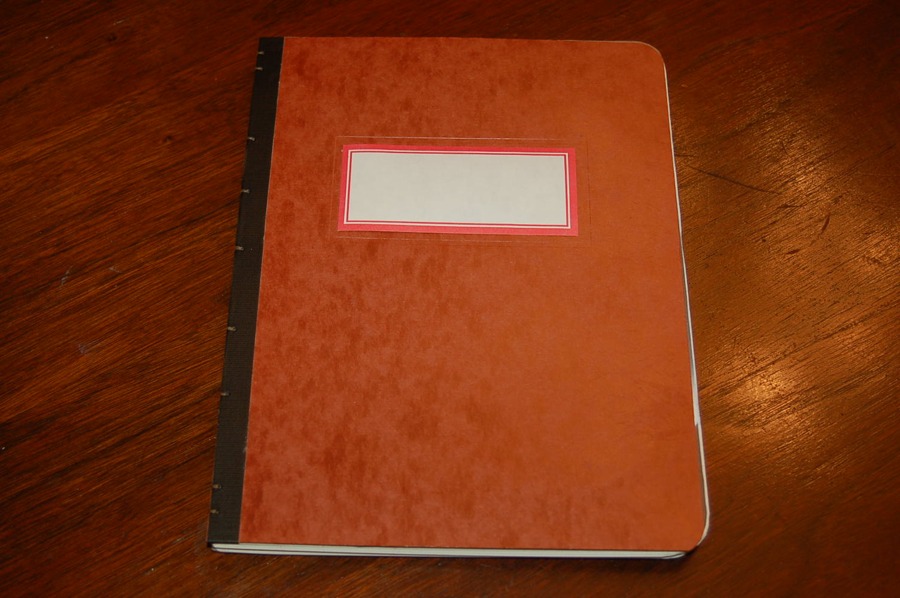
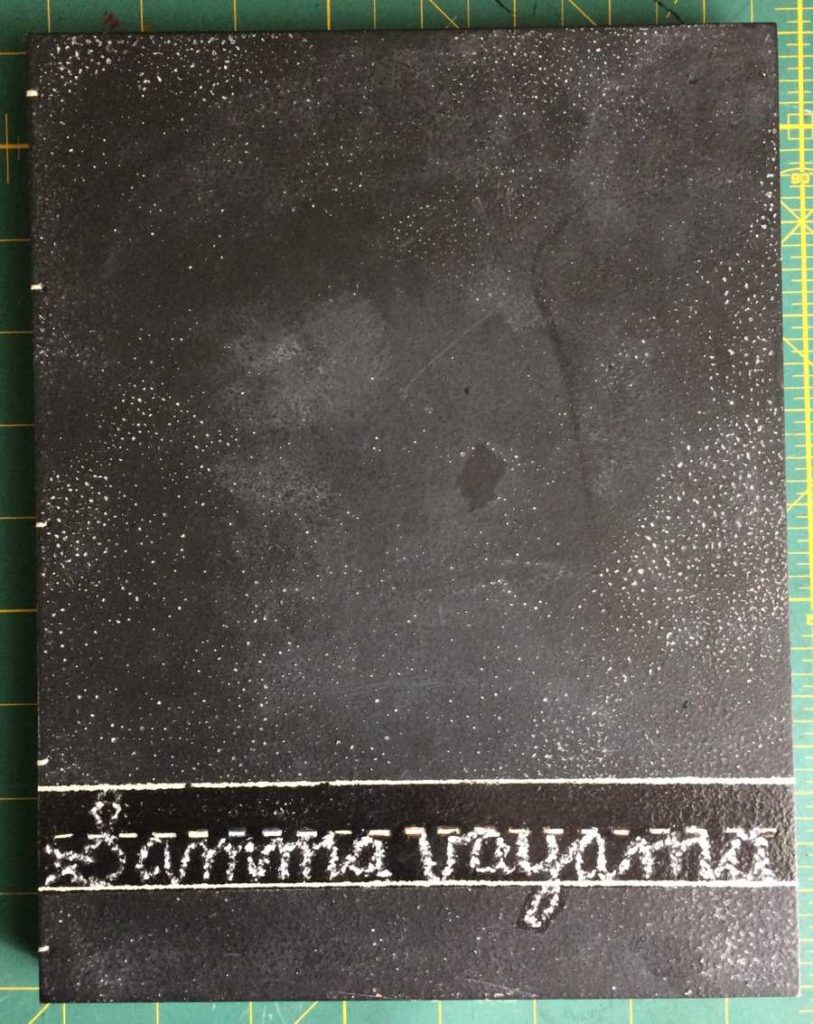
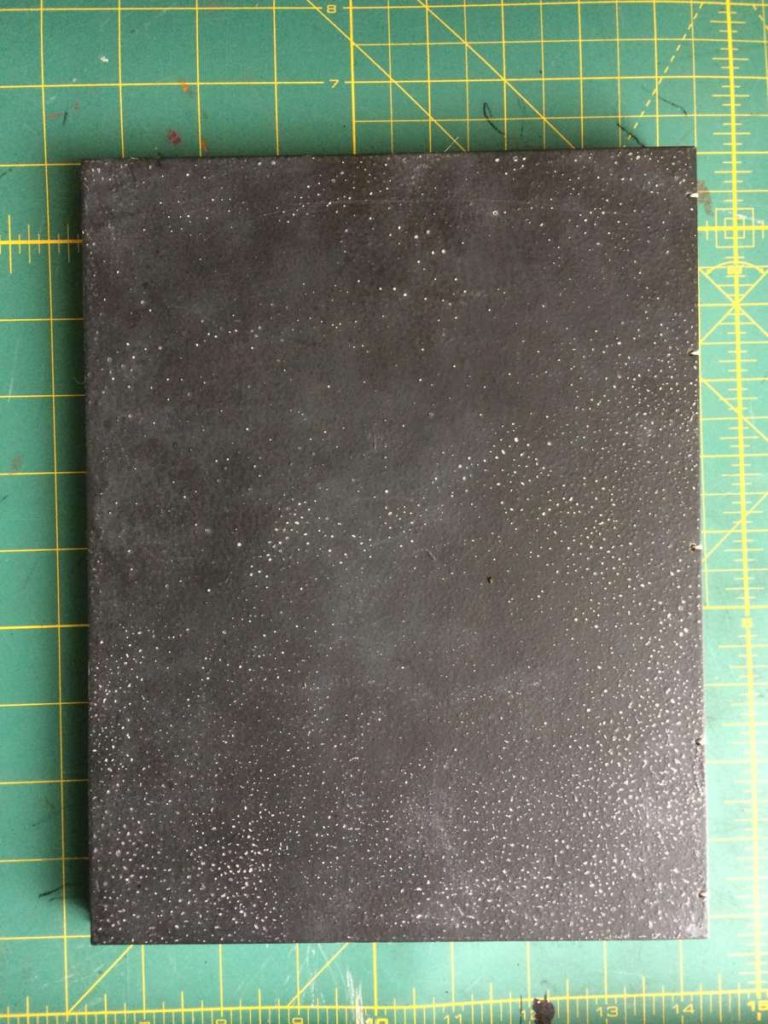
I was going to reuse the covers but the actual board is not wide enough. Fortunately, I like to collect vintage office supplies. Seen here is a pressboard binder folder from the 60s. This is going to be my new cover material. Using the original covers I took the measurements and added the extra needed so that it would fit. Coptic Stitch requires punching holes in the cover. I decided to reinforce the edge with some gaffer tape on both sides.
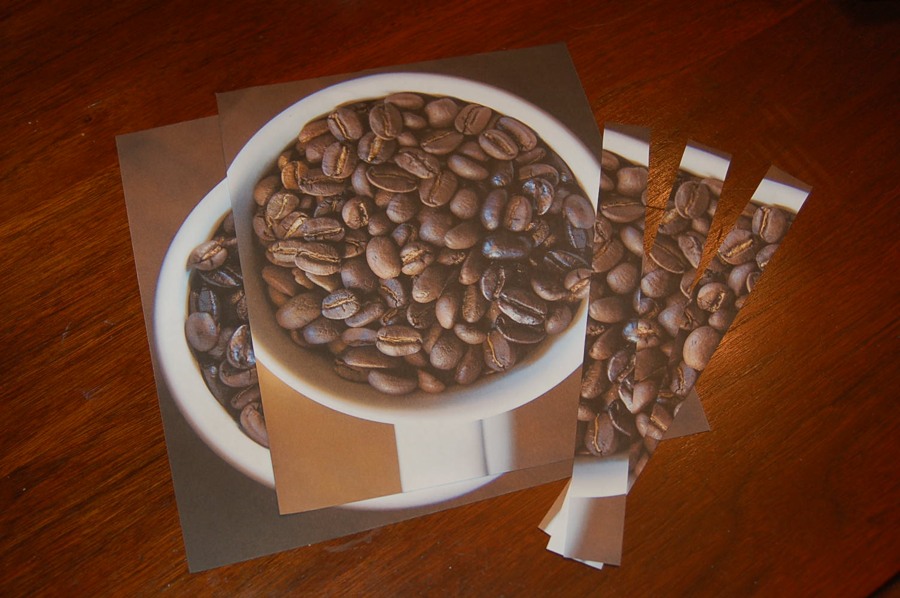
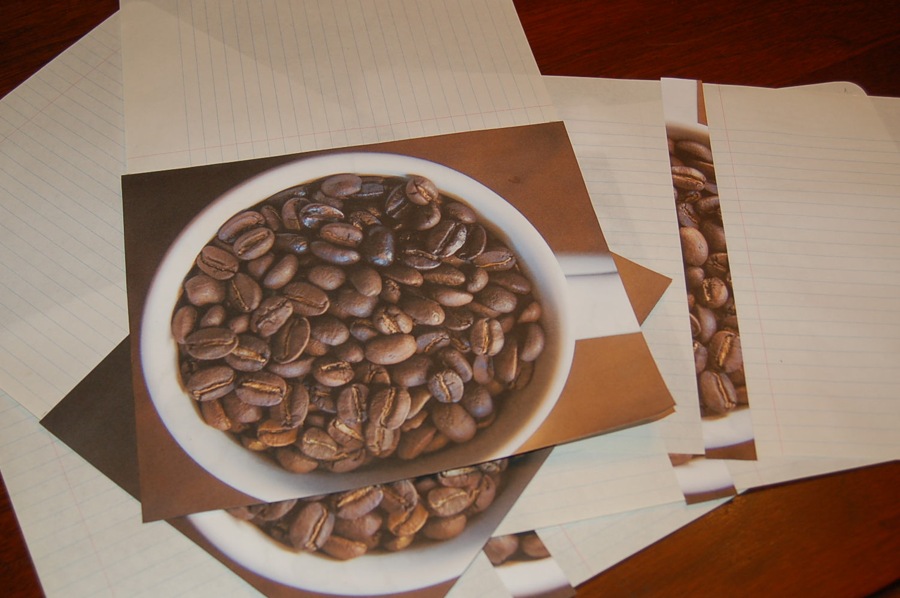
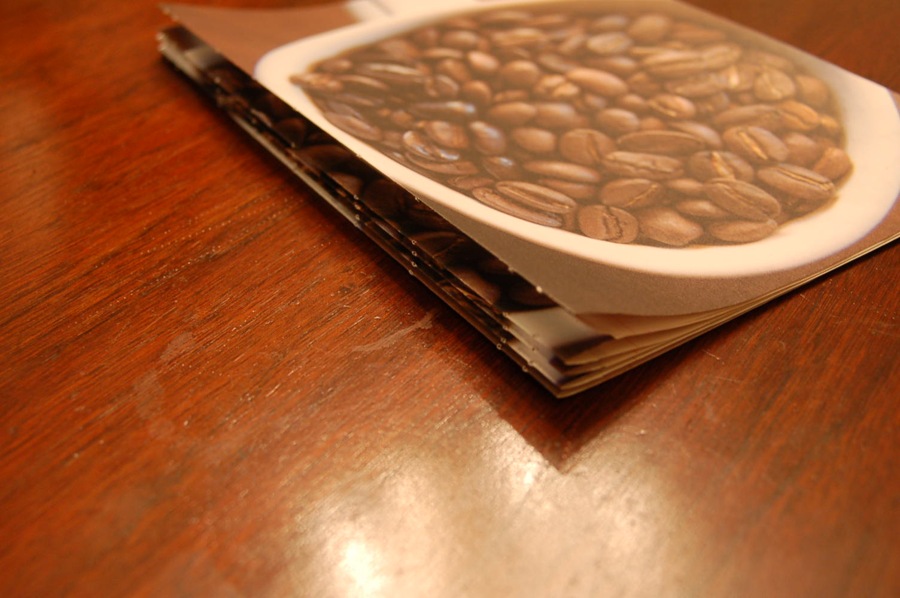
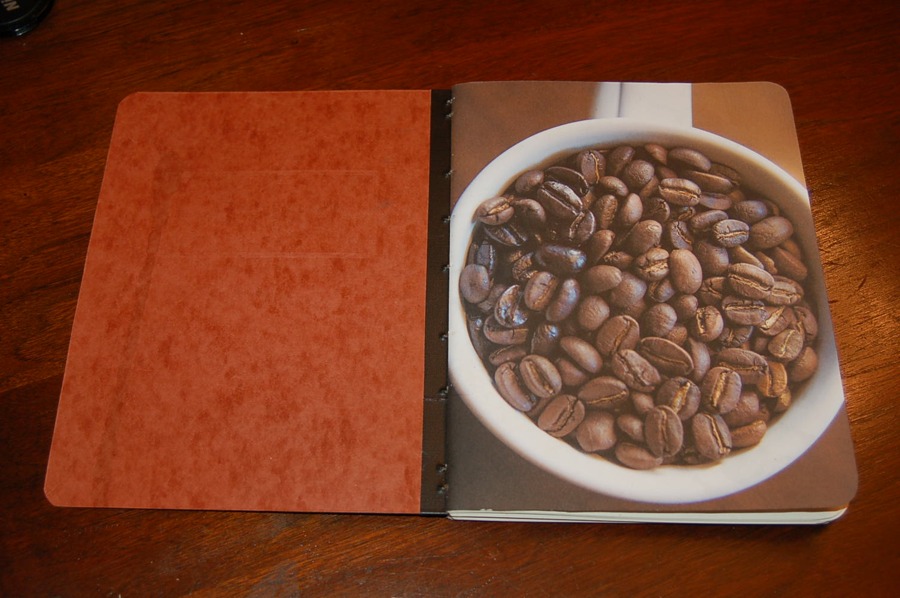
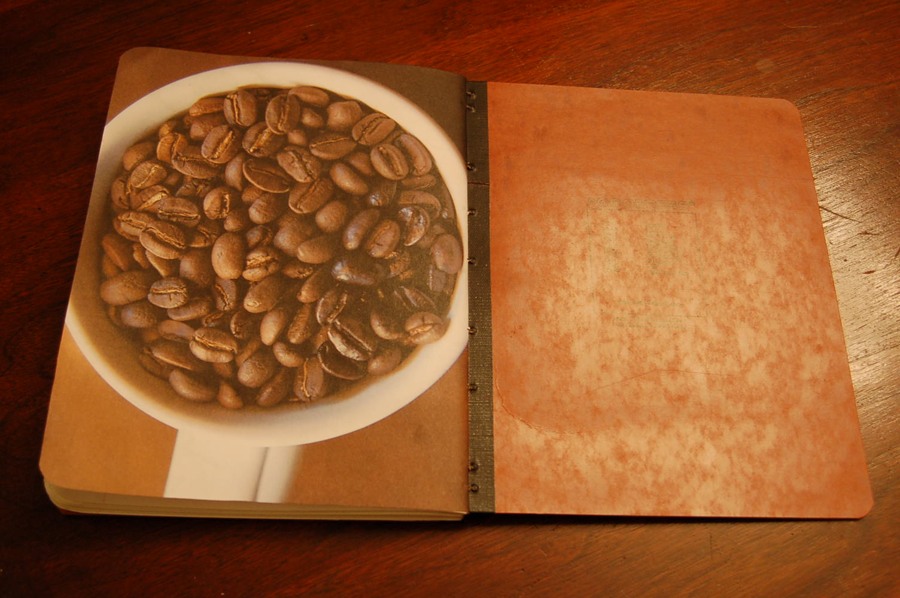
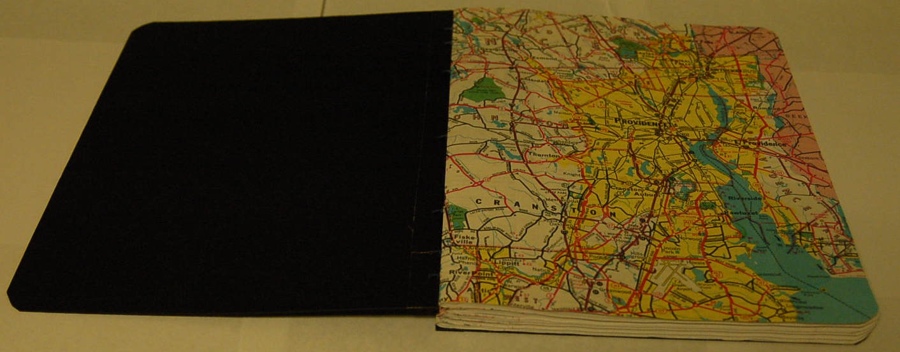
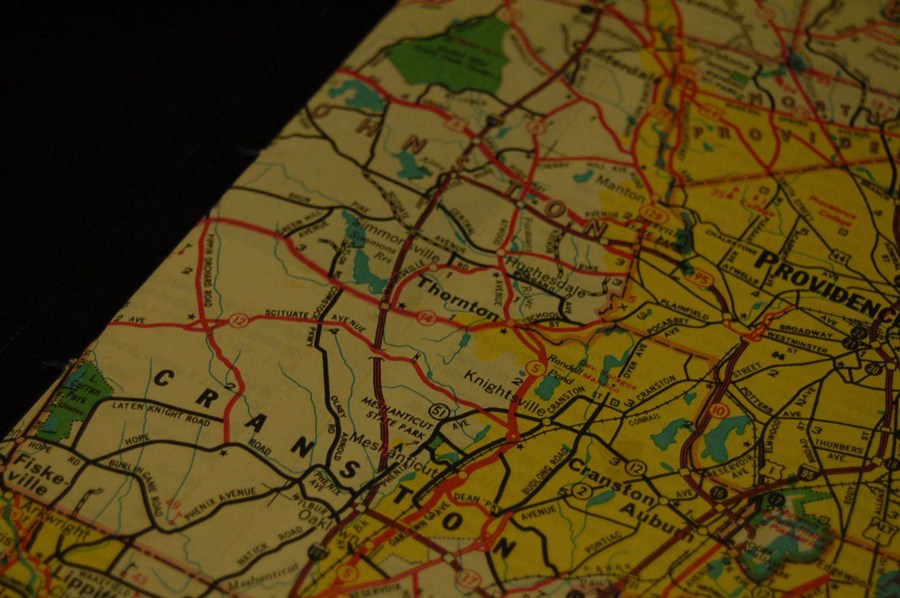
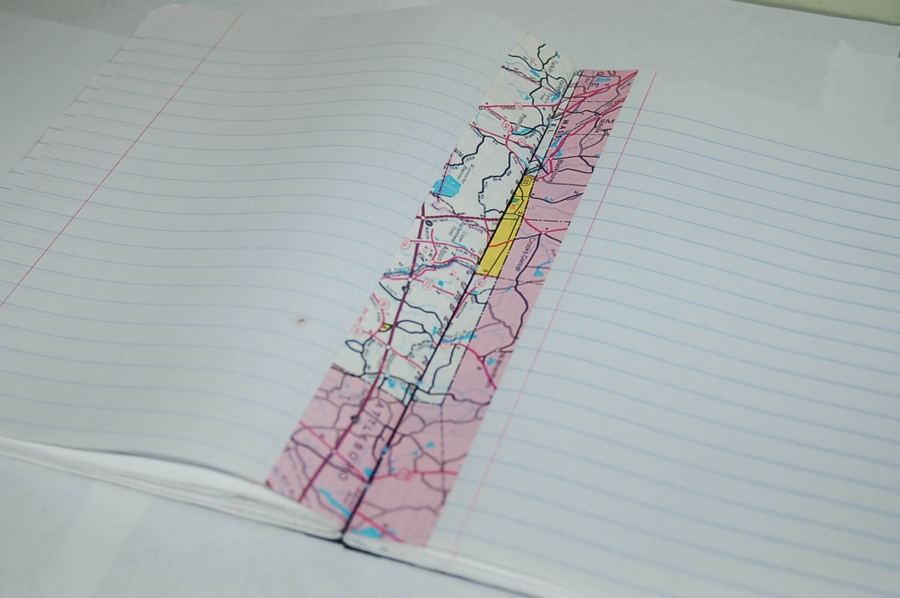
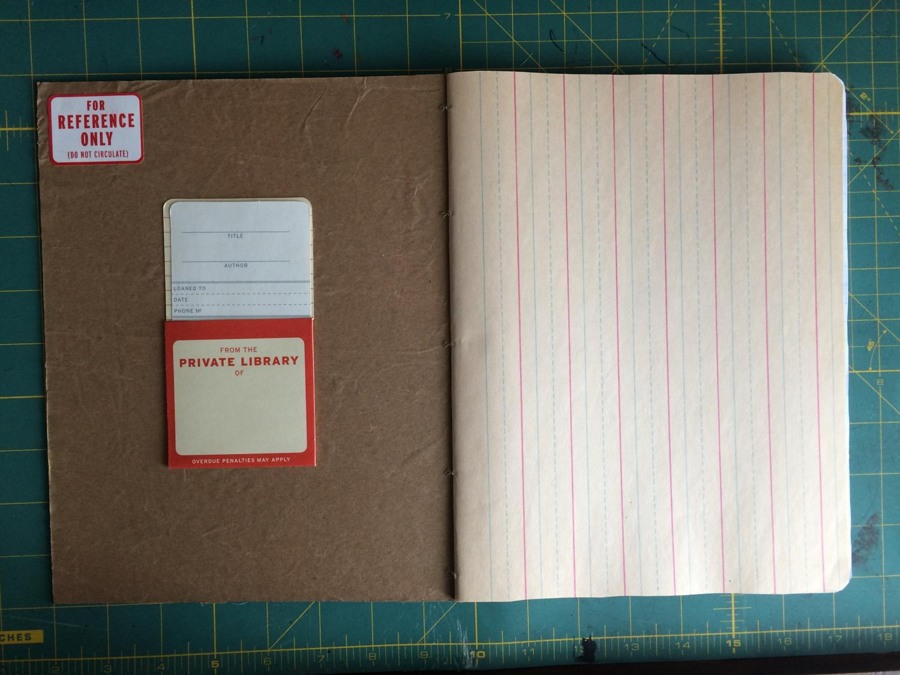
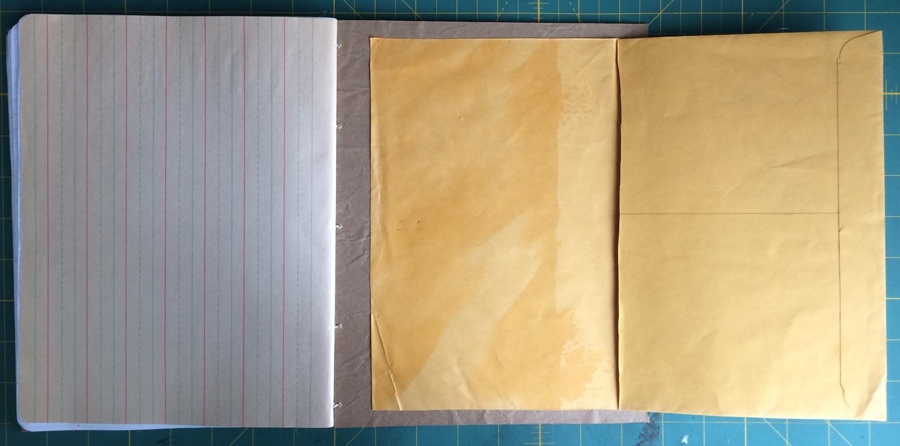
I also decided that I wanted to reinforce the outermost pages at the fold. The pages would be the exposed spine of the book. I used these magazine cutouts to do it. Each was spray glued on the fold. The larger ones became the title page and end page of the journal. To make sure the reinforcements glued flat, I had to iron the folds of the first page of each signature.
Once they are all glued on they are then trimmed and refolded.
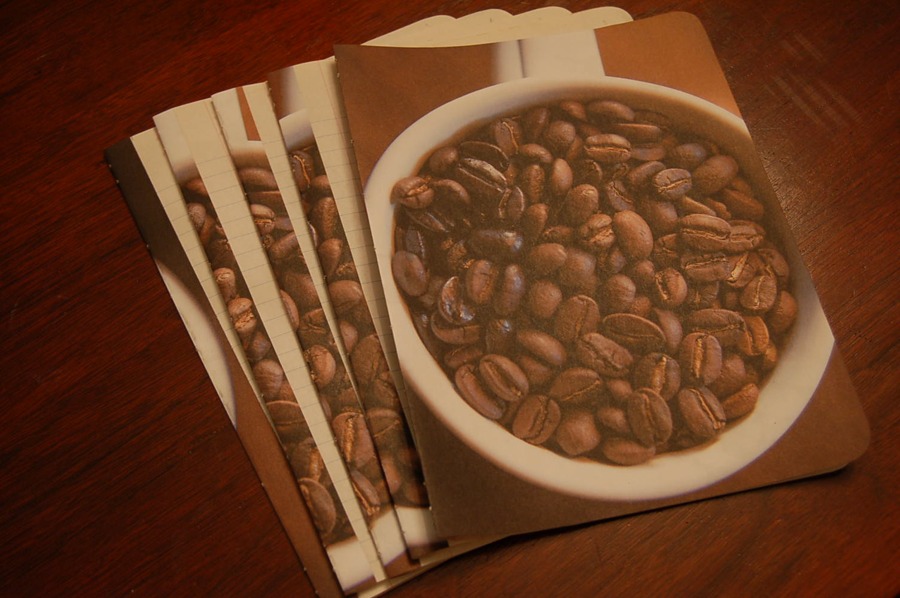
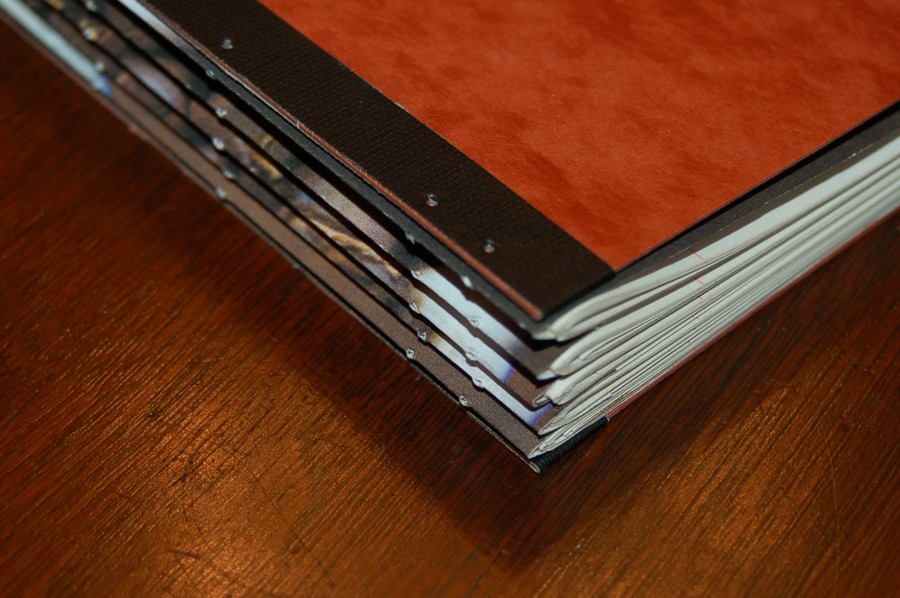
Here are all the signatures and the cover together. You can see that the signatures have their holes punched. I used the existing holes of the notebook to create a guide and then used a bookbinder’s awl to punch the holes.
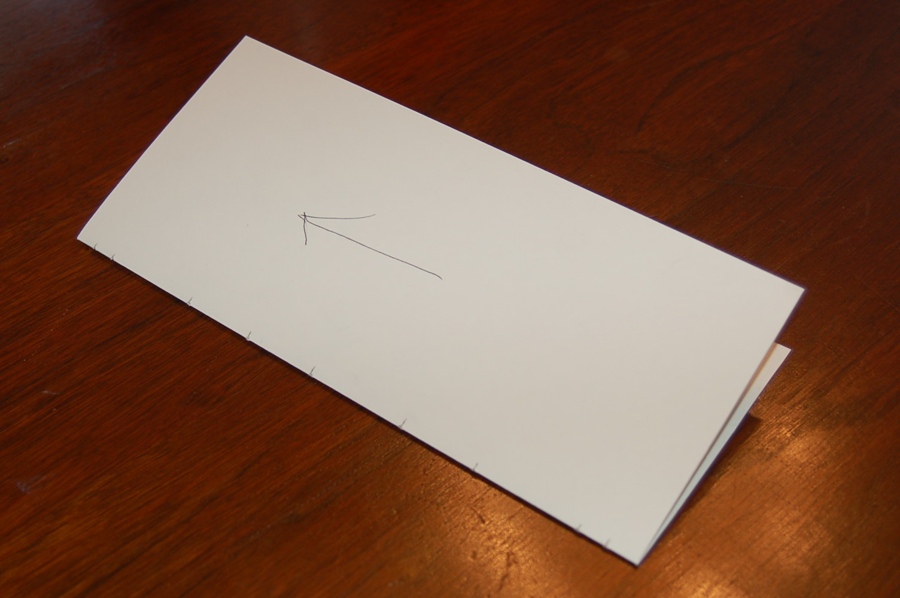
Here’s the guide. It is one sheet of paper folded in half. Height of the paper is the same as the journal. Take the folded paper and line it up with the existing stitch holes and mark which ones you want to use. Use an awl to punch the holes in the guide. I drew an arrow to make sure I keep the guide upright at all times. The guide is then used to line up the signatures. It is also used to mark where the holes in the cover/reinforced pages go. The cover holes are punched with the hammer and heavy awl. The guide is also used to make sure I sew through the correct holes inside the signatures.
Here you can see the holes all lined up and ready for sewing. I have used the Coptic Stitch for a lot of my handmade books. Sea Lemon has an excellent tutorial on how to do this stitch here.
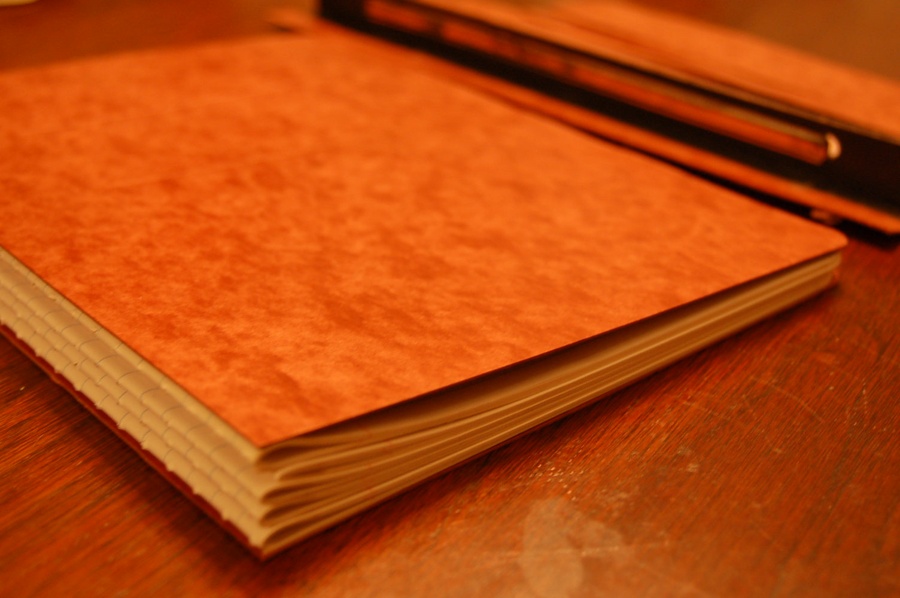
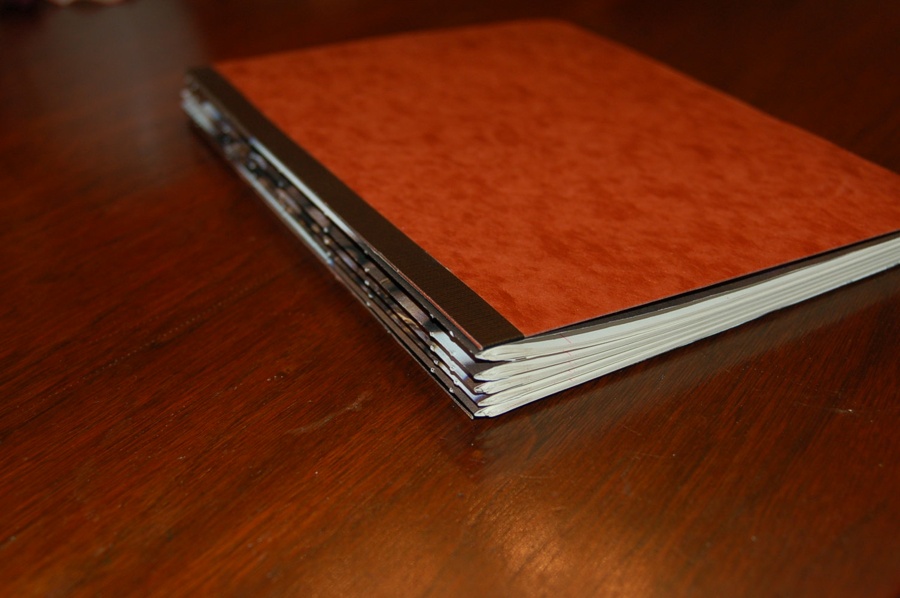
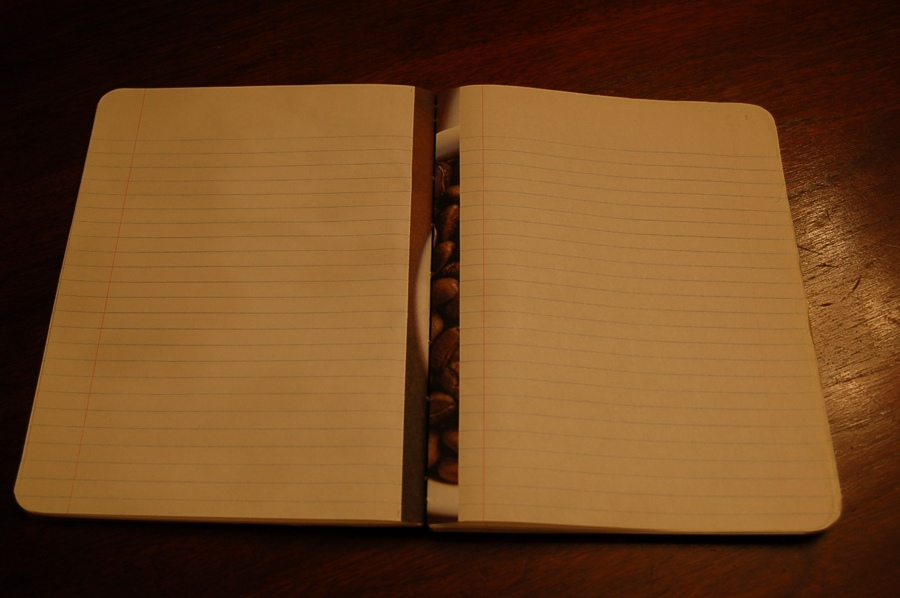
The finished journal. Vintage label for the title is not attached since I haven’t decided on the title yet.

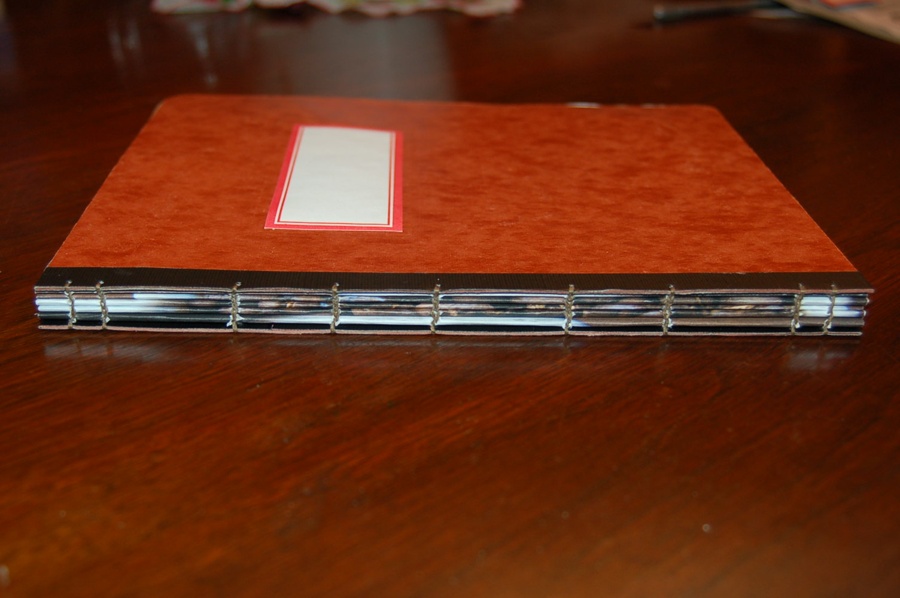
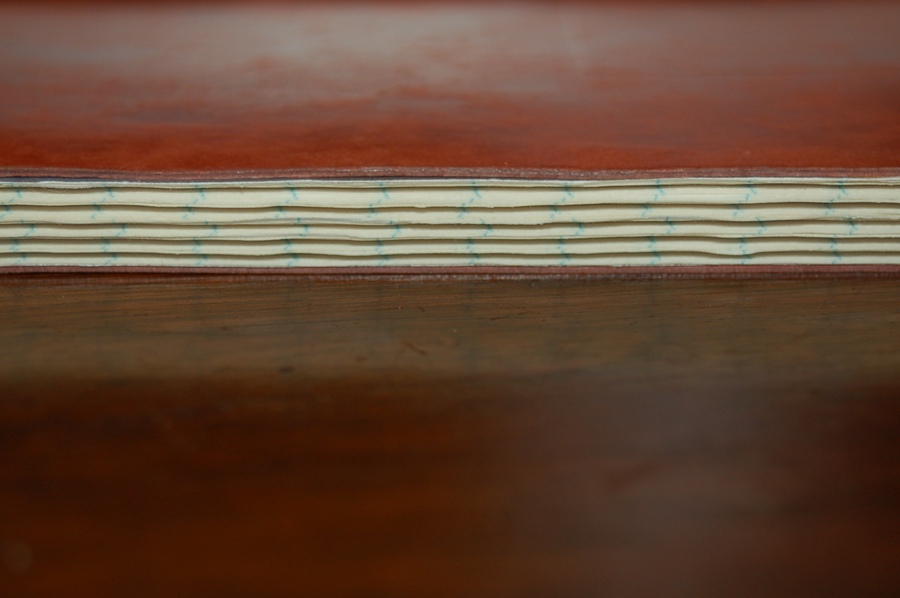
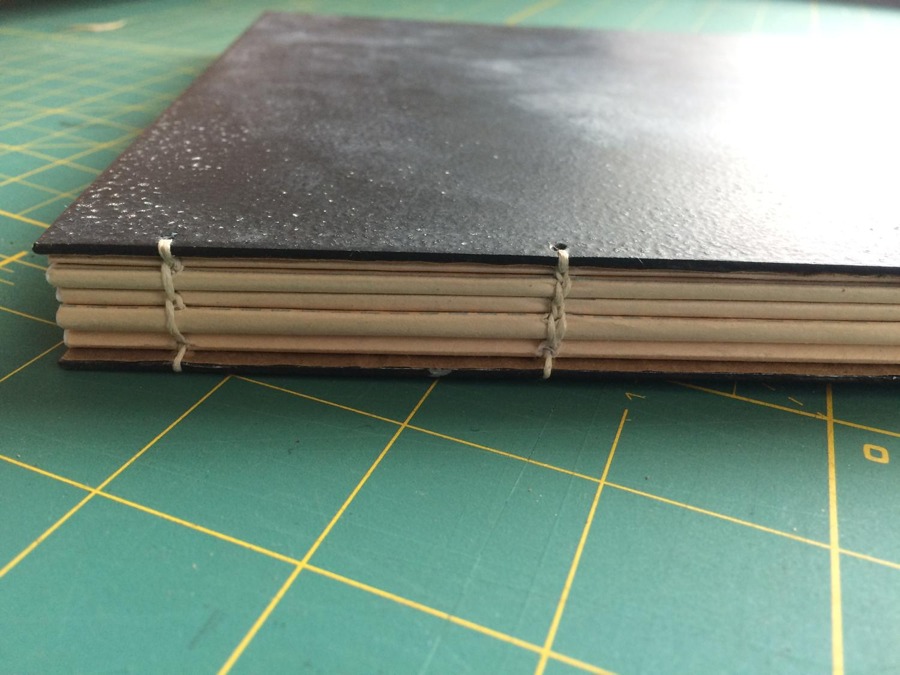
Here are a couple pictures of the edge of journal. To get this look I had to shuffle the pages before making the signatures.

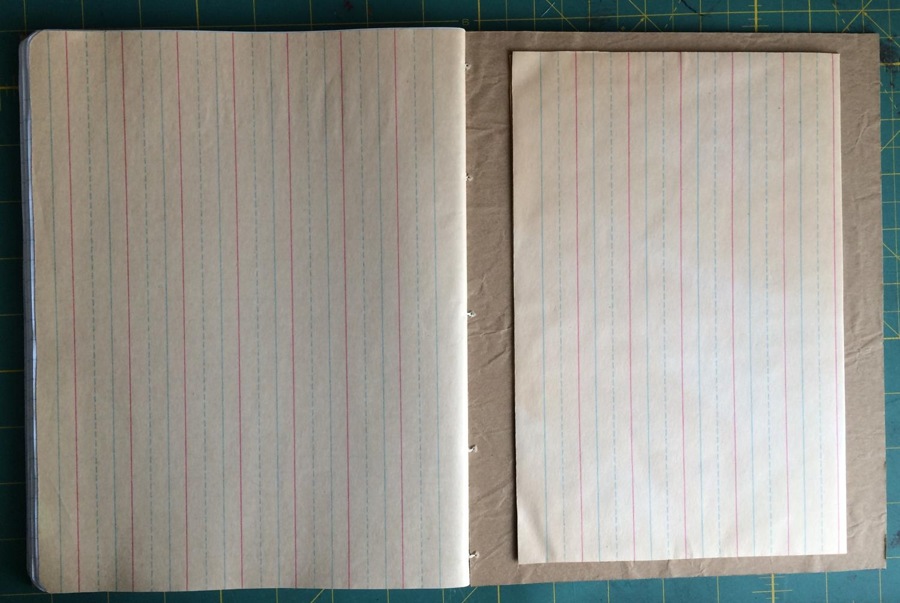
Some pictures of the interior front and rear pages and the reinforced spine pages.
This worked out so well that I did the next journal with this same technique.

And then another one…
I’ll be using this rebinding method a lot going forward. Most recent journals of mine use the Coptic stitch but the book itself is handmade. Check out my latest one here.